Makeup Tips for Photos
This post contains affiliate links. View my full disclosure policy for more information.
Today we are going to be talking all about makeup tips for photos! I know many of us have family photo sessions coming up. We’ve picked out the perfect outfits, we have talked to our children about it for the last week with bribes, and our husbands are on board.
I really look forward to our fall family photos. It’s important to look my best and get my makeup the fleeky-est (yes, that’s a word) I can possibly get it.
In this post, I’m going to go over some of my biggest tips when planning out your makeup look, and what to keep in mind when you’re applying your look. I also have included a video with me doing a demo of my go-to makeup look for photos. This look and my tips are also really good for events and television, too.
Makeup Tips for Photos
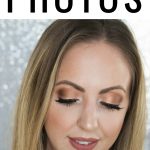
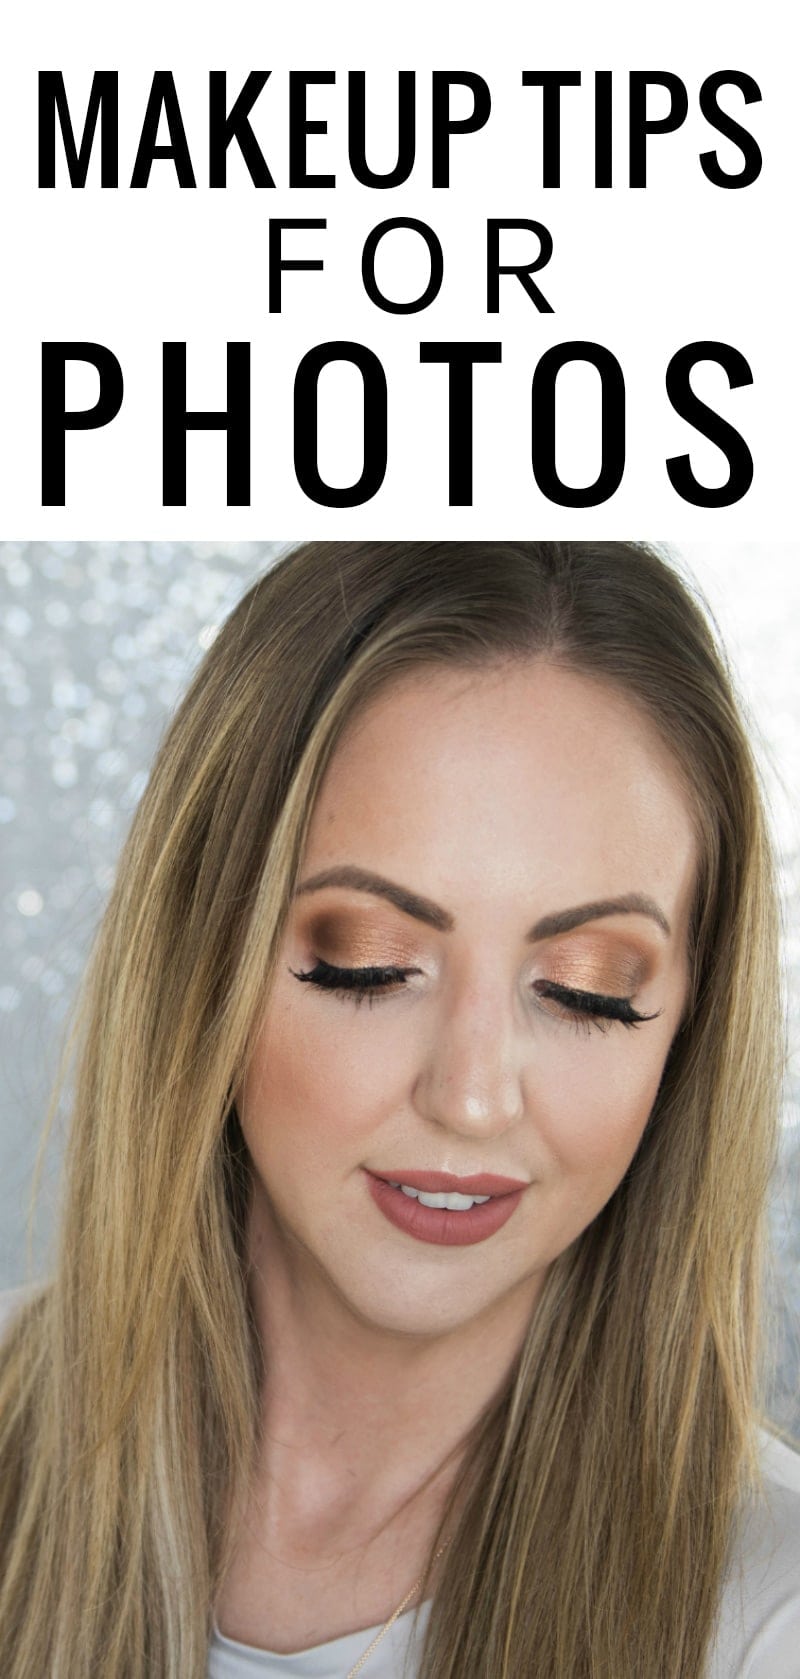
When it comes to makeup for photography, it’s all about amping your look up 2-3 notches. Photography tends to wash your face out, so it’s important to make sure to take some extra time to define your features. If you are going to focus on a few things, here’s what I would suggest:
Wear Falsies
Lashes are the first thing to disappear in photos, so I always wear a pair of falsies. I know it may be intimidating to apply false lashes. I do have a tutorial on how to apply false eyelashes if you need help. I suggest going and buying a few pairs and practice a few times at night before bed. You will be cursing me and your life if your first day of wearing false lashes is on the day of your photos.
I recommend hitting the drugstore and grabbing a few pairs of . They’re super comfortable to wear and one of the easiest to apply.
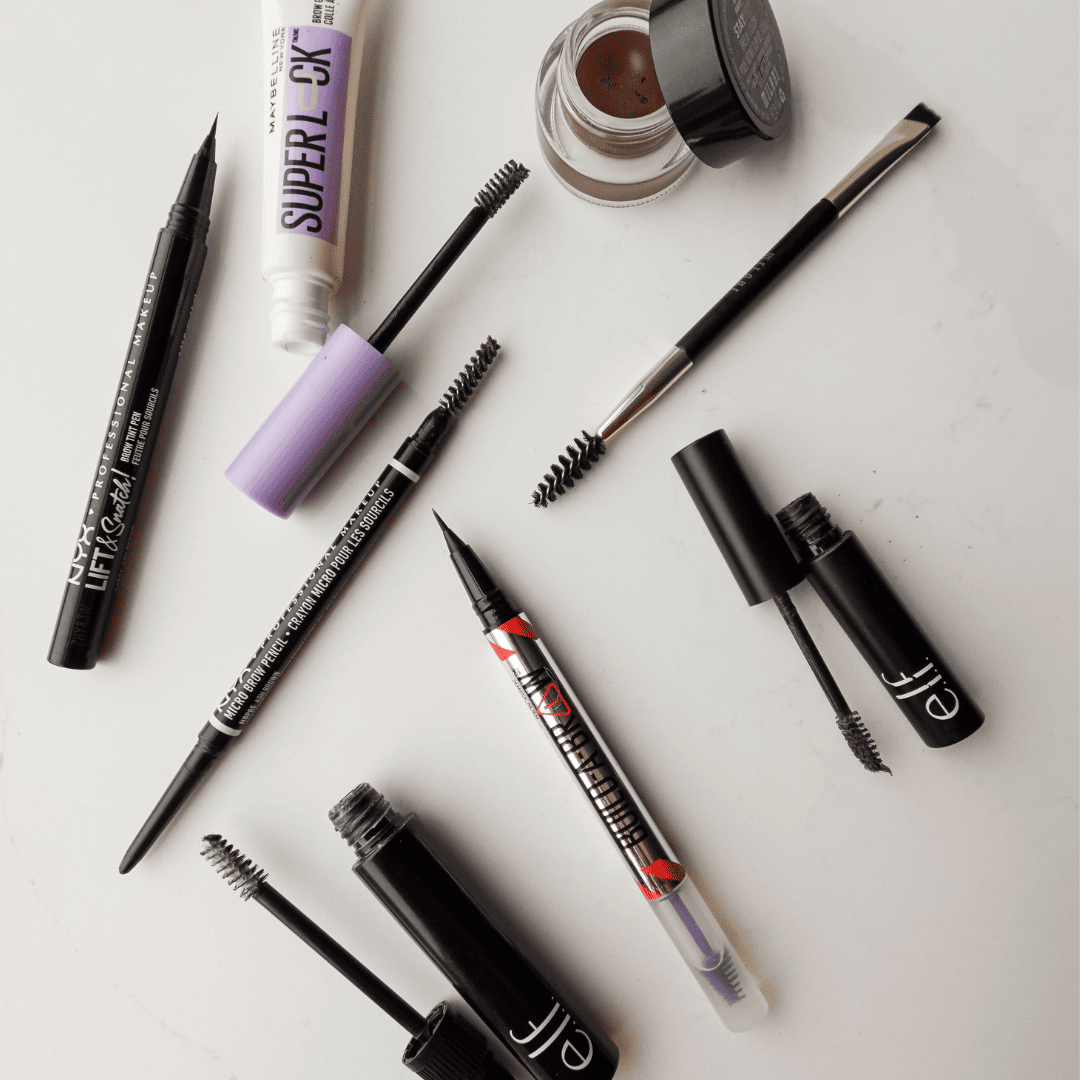
Define Your Brows
You’ve heard it before – brows really make a look. They frame the face, make you look awake, and make you look put together. It’s important to define your brows when you know you’ll be photographed, even if it’s a tinted brow gel. Promise me you’ll do it. If you need help, I do have a Natural Eyebrow Tutorial that teaches you my technique more in-depth.
Lock & Load Your Base Makeup
 I make sure to wear a foundation that I know performs great in all kinds of conditions and looks great in photos. My go-to foundation for photos is . I would say to stick with something you love and you know works well with your skin. I like to apply in thin layers (assures that it has a less chance of caking up) with a beauty blender, which ensures a flawless, thin, and even coverage.
As far as getting it to stay in place (especially if you could be sweating), make sure to “bake” areas that are prone to slip and slide. If you need more help, be sure to check out my How to Cover Dark Circles Under Eyes Tutorial that goes in depth on how to bake your makeup. Also make sure to use a setting spray as a final step to lock everything into place. It’s like hairspray for your face.
Define Your Features

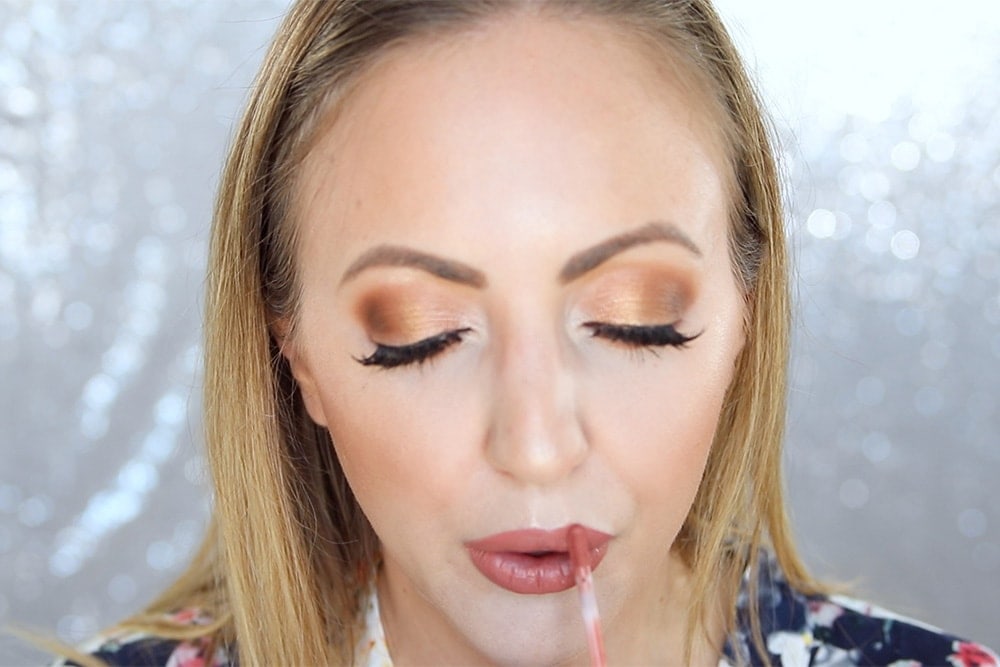
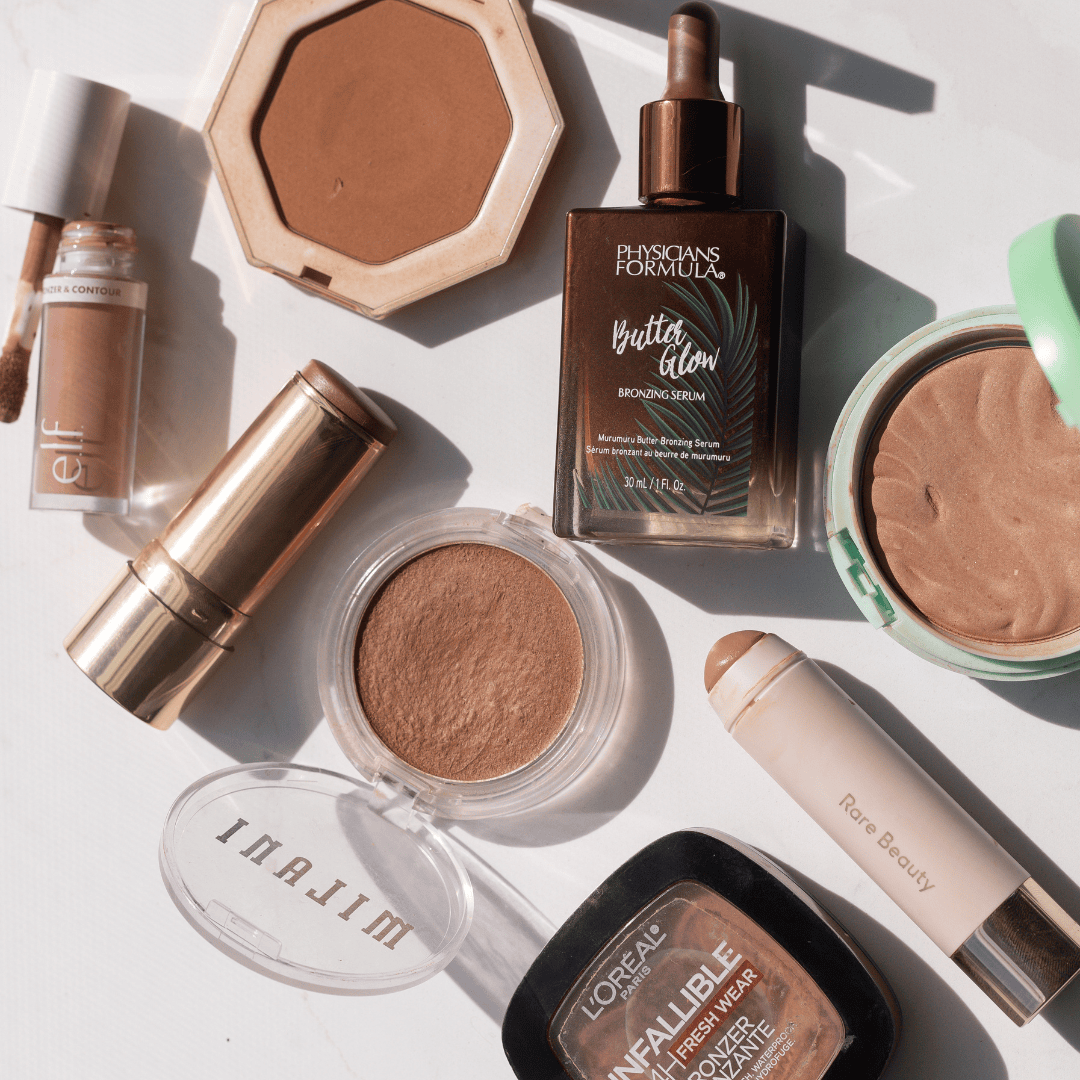
If you only apply a foundation and a powder, your face tends to look very washed out and flat. Using bronzer, contour, blush, and highlighter brings dimension back to the face. Use a bronzer to warm up the complexion (and if you do not contour, promise me you’ll at least do this!), and then contour over it. Contour the cheeks, nose, and jawline, flush the cheeks with blush, and add light to the high points of the face with highlighter. Make sure to check out my How to Contour Tutorial if you need an in-depth tutorial.
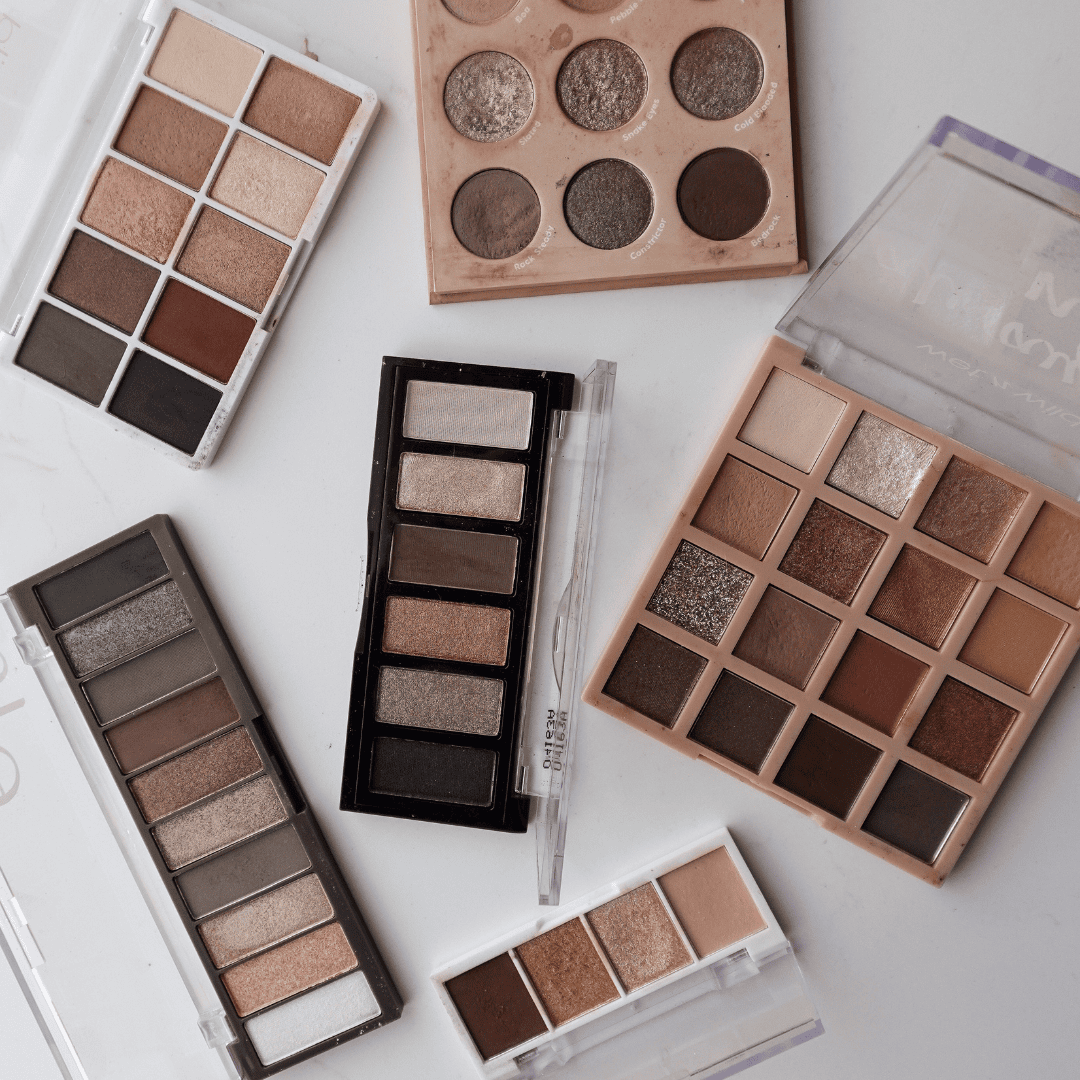
Choosing the Right Eyeshadow
Choose eyeshadows that complement your eye color. Think about the color wheel and complementing colors. Since I have blue eyes, I tend to always go for a gold/brown eyeshadow look. If you have brown eyes, cool tones and purples look amazing. Eyeshadow tends to disappear a little in photos, so you need to amp this up, as well. If you don’t wear eyeshadow, it’s not a big deal. Just make sure you’ve got some falsies on and a little bit of eyeliner for definition!
The Perfect Lipstick is Darker than You Think
One huge mistake I see a lot of people making with makeup tips for photos is thinking a nude lipstick is their best bet for photos because it looks the most like their lips. The reality is a light nude lipstick completely washes you out and makes you look dead. Remember, we are amping our “normal” look about three notches. I recommend picking out a mauve/rose/brown-nude that matches your lips but about three shades darker. A bold lip is always a great choice for photography, as well! The formula of lipstick is totally up to your preference. Glossy and matte lips both look great in photography. For an even more defined look, line your lips with a darker lip pencil and use a slightly lighter lipstick on top.
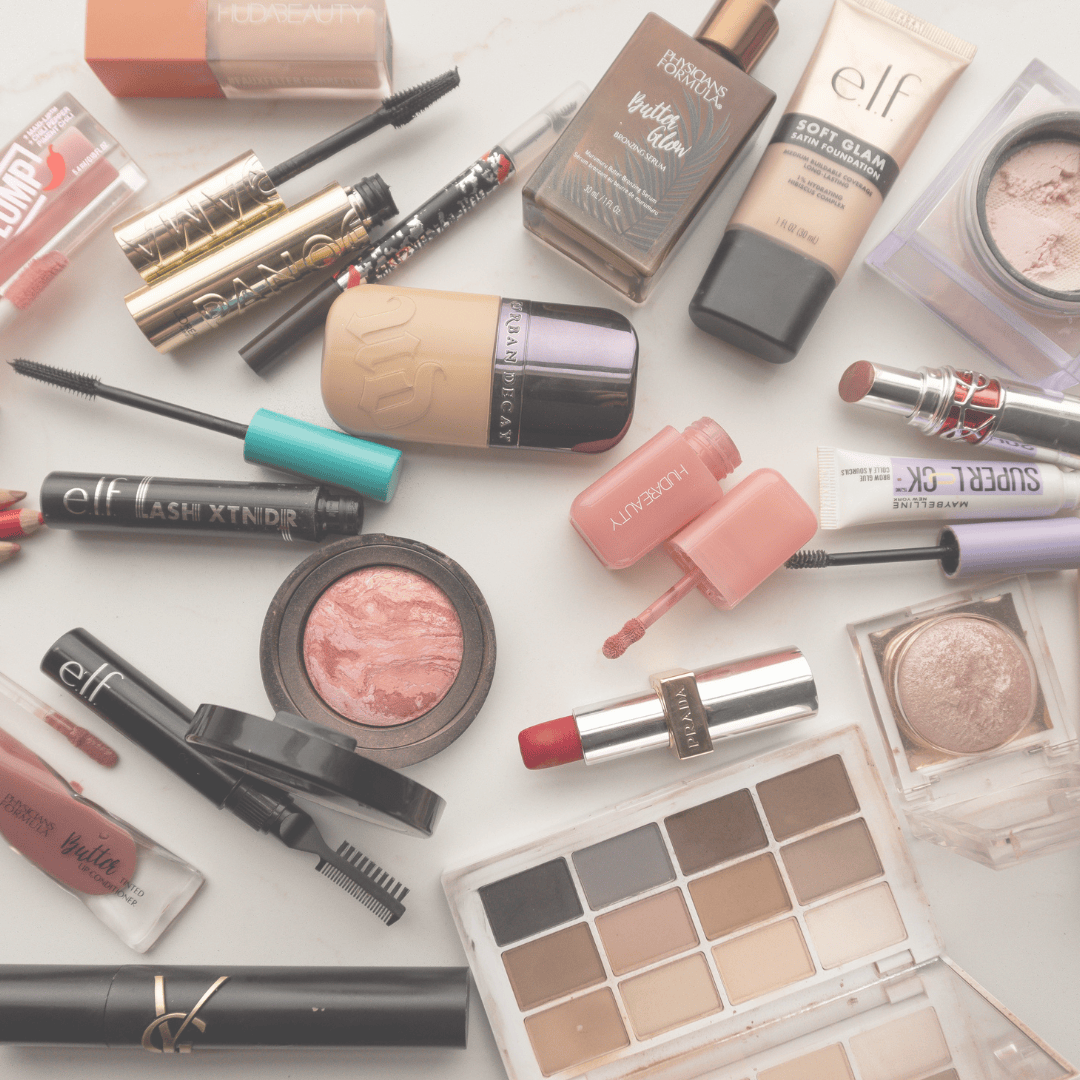
How to Apply Makeup for Photography – Tutorial
Here’s my go-to makeup look when I am getting my photo taken. It’s fail-proof and always makes me look my best!
Face

Eyes
- Jaclyn Hill x Morphe Eyeshadow Palette
- Maybelline Master Precise Skinny Gel Pencil
- Urban Decay Troublemaker Mascara
- Ardell Demi Wispies Studio Effects
Cheeks
- Physicians Formula Butter Bronzer
- Kat Von D Shade + Light Palette
- Nars Blush in Madly
- Ofra Highlighter in Rodeo Drive
Lips
 Let me know if you have any feedback on this makeup tips for photos post and video – I would love to hear it! As always, thank you for watching and following along with my makeup tutorials.
One last thing – if you need more photo shoot ideas, be sure to head to Heather’s post! If you liked this makeup tips for photos post be sure to check out the full Blogging Tips section before you go.
If you liked these makeup tips for photos, check out these other makeup blog posts:
Natural Eye Makeup Tutorial | Quick & Easy
Ten Minute Makeup | Easy Makeup Tutorial
Eyeshadow Tutorial with the ABH Modern Renaissance Palette
How to Apply False Eyelashes
…or browse all beauty blog posts HERE!

Thank you so much for your tips to use bronzer, a darker lipstick, and contour to create strong lines so your face does not look flat or washed out in the photos! My cousin is about 7 months pregnant and she is thinking of getting maternity photos taken so she can remember this special time. I wonder if she should look for hair and makeup services so that she loves the outcome of the photos.
What color eye shadow would you recommend for green eyes? It looks like the color wheel would more recommend a red/pink which I don’t think would look good for maternity photos.
Thanks for sharing this. This sure will help me in better preparing for my trip this weekend.