8 Blog Photography Tips Every Blogger Needs to Follow
This post contains affiliate links. View my full disclosure policy for more information.
Y’all. It has taken me a long time to really understand how to take a great photo. Now that I have spent time and money into learning my camera and photo styling, I’m finally beginning to feel confident.
Even though it can be frustrating and not super fun at times, photography is extremely important for not only your blog but your Instagram feed as well. I used to shake my fists at creating a “pretty feed” but I shifted my mindset into thinking that Instagram is my highlight reel, and my portfolio of work that I can produce – all in one spot. I want a potential reader/follower/brand partner to be able to look at my top 9-12 photos and see what I do. Beauty, mommy, lifestyle, with some videos mixed in. Do you get that vibe from me?
Instagram isn’t what it used to be. It isn’t “instant” at all, and it’s all about the likes/follows/engagment and pretty photos. The game sucks, but I play it. I play it because it goes back to what I said before – I look at it as my portfolio of my best work. I’ve got Snapchat, IG Stories, and even YouTube to share real and raw moments with my audience so those platforms help me scratch that itch.
Here’s the thing. I do almost everything myself. I am literally a one woman show. My husband has some room for improvement and usually just takes pictures of my boobs. (Sorry, Greg. I love you.) I hire a photographer every once in a while to help me shoot things I cannot do myself, but I poured myself into learning photography and styling for years so I felt more confident to do it on my own. 90% of the photos you see on my blog and Instagram are photos I’ve taken. Many of the really pretty ones of me are taken by a photographer, haha. I know how to work a tripod and remote with self-timer. I stand on chairs and use reflectors daily. I set up an entire little studio in my office to film a video.

I used to be so perplexed by photography, styling and editing, but now I really enjoy the process! I look at it this way: no amount of photo editing apps or filters can make a bad photo look better. I have to say that I’m certainly not a photographer, but photography is a huge part of my blog! If you commit to it, it will most definitely help you elevate your presence.
Let’s take a little walk down memory lane, shall we? Here’s how my photos used to look:
https://www.instagram.com/p/k3Bq_YkIQ6/?taken-by=mo_meg
https://www.instagram.com/p/w_72jJkId1/?taken-by=mo_meg
That’s not even the “bad” photos. Here’s a lovely blog post I wrote before I even had kids… I threw the products on the concrete floor of my balcony to take photos. At least I had good lighting?
And here’s what I produce nowadays:
https://www.instagram.com/p/BU0pBv-AkzW/?taken-by=mo_meg
https://www.instagram.com/p/BIpnhm-Bk7Y/?taken-by=mo_meg
Now that I’ve gotten that long winded intro out of the way…
There are a few really important things I’ve learned along the way, and I would love to share them with you! I hope you find these blog photography tips helpful, even if you aren’t a blogger.
Decide on your style and stick with it
Light and bright? Dark and moody? Earth tones? Cool tones? If you’re not sure where to start, this is what I suggest. Search on Pinterest for photo inspiration and make a secret board of photos that flow together. Make sure every photo you pin has similar colors, filters, etc. What do they have in common? That is probably your style. I gravitate towards whites, pastels, and cool tones. I try and think about those colors before I even take a photo. You’ll notice I never wear super dark colors in my photos. I love neutrals. If I have a brighter color I am shooting, I make sure there is plenty of white space around it. This helps showcase the myriad of beauty products I photograph.
Blog Photography Tips #1: Search Pinterest for Lightroom presets and VSCO settings to find the perfect filter that feels like your style. You don’t have to filter your photos, though!
Learn your camera
Some people do really well shooting their blog and social media photos on their phones, and that is great! Some content lends itself to that, and I think that’s amazing. It’s much harder to do that with beauty, so I stick with my camera. I only shoot in manual mode, and it was after taking a few courses and reading literally everything I could I felt confident to make the switch. My photos are taken with a Canon 80D or Canon EOS M10. I use a Tamron 28-75 lens on my 80D and it hardly ever leaves the camera body. It’s important to note that it’s not about having the gear, it’s all about knowing how to use it. The same could be said for even an iPhone! If you’d like to read more about all of the gear I own, make sure to check out this post.
Blog Photography Tips #2: I loved the Photography class on Atly.com!
Find your light
How many times did I say this as a theatre director during a tech rehearsal? Probably a million times. It also applies to taking a great photo. Lighting is KEY! I typically shoot products in front of a window with my reflector. If I’m taking photos of people, I prefer outdoors in shaded areas or on an overcast day. Direct sunlight washes out the photo. If you have great lighting, it doesn’t matter what camera you’re using – use what you have!
Blog Photography Tips #3: Using a reflector is a great way to ensure there are no shadows around your photos. Something about shadows (unless intentional) makes the photo feel a little less bright and crisp. A reflector will help you get light 100% around the objects, especially if your light source is coming from one direction.
Understand photo composition
Spend some time studying the artistic aspect of photography. Read up on the rule of thirds. Understand what visually makes a good photo. Angles, bokeh, aperture, etc.
Tip: Keep studying those photos you pinned for inspiration. How were they composed? Where is your eye drawn to? Think about being your own composer with photos and how that translates to your work.
Create an overall theme/feel for each photo you take
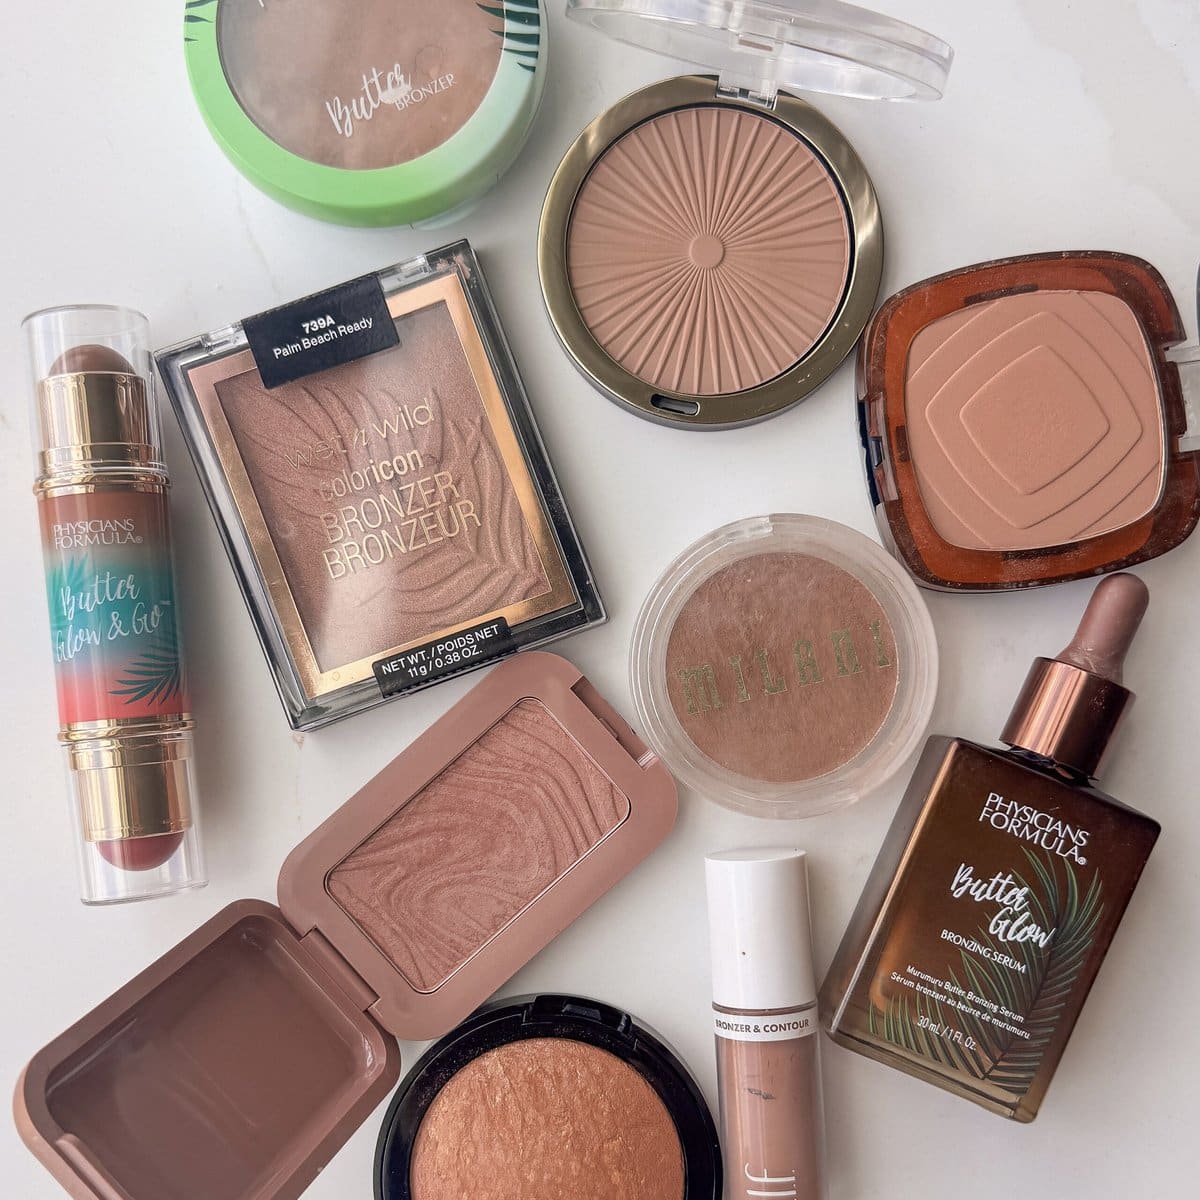
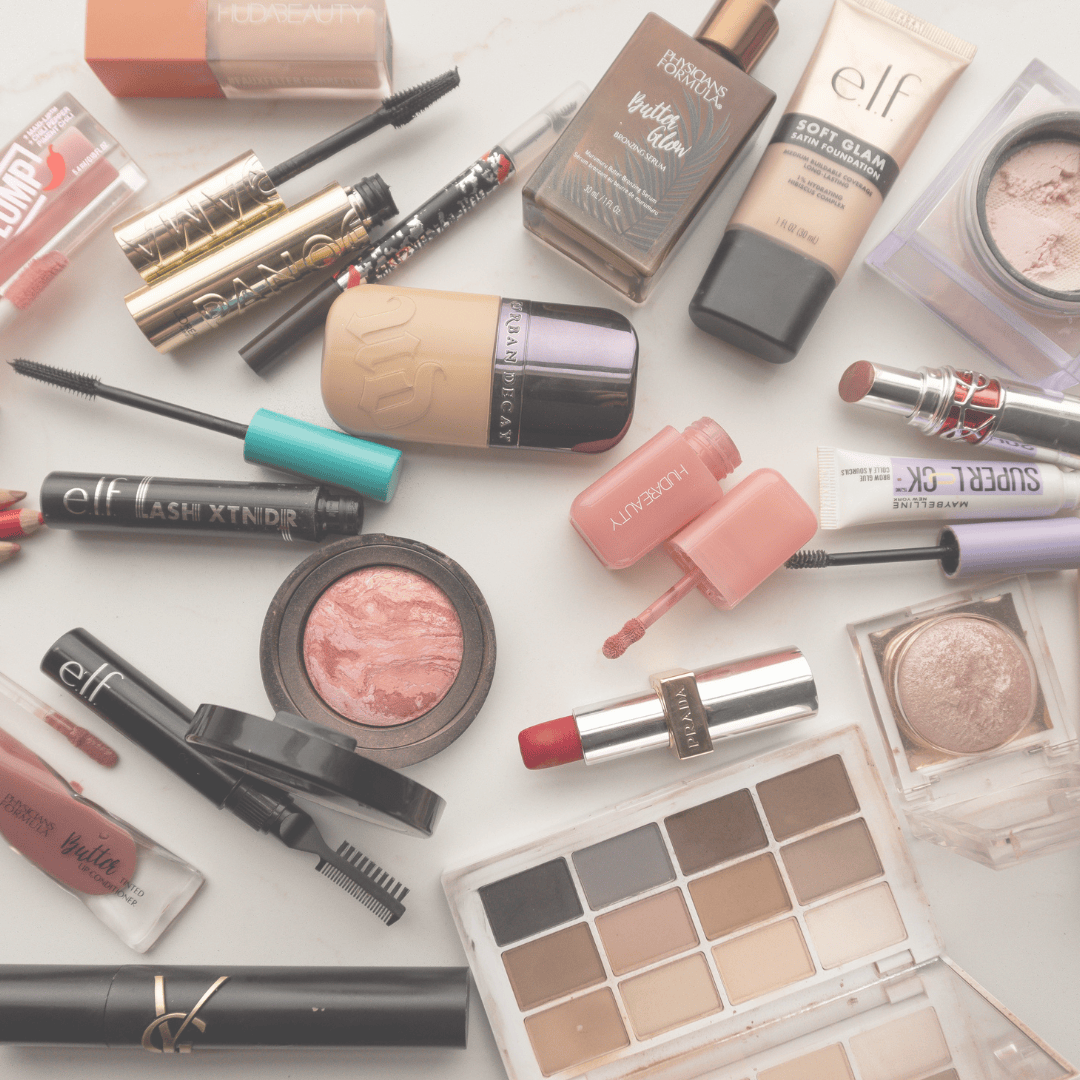
Flat lays really need a feel to them, rather than just throwing a bunch of stuff down and taking a picture of it. Is there a color theme? Are you trying to tell a story? For example, instead of showing your beach bag essentials, think of those items telling a story. What other elements can be thrown in to help tell that story? I’m thinking maybe a palm leaf or a pineapple may be a fun addition to create and set the scene!
Tip: Pin a lot of flat lay photos to a secret board on Pinterest for inspiration! Don’t copy these photos entirely, but let it be your guide. Pay attention to how the objects in the photos are set up in the photo, the colors, the textures, props, etc.
Incorporating props into your photos
I have a slew of props around my office that help me style photos. Marble trays, fluffy white rug, cute mugs, fake flowers, pens, trinket trays, etc. I also love using notebooks, coffee table books, and journals as items to “layer” my products on.
Tip: Adding natural elements into your photos make them feel more personable. Try getting some real flowers or leaves (I cut roses off my rose bush, or leaves off my hedges!), and even adding your hands help with this!
Edit every single photo the same way
Invest in some editing, even if it is an online tool. Photos straight out of the camera are pretty if taken correctly, but editing will help you really refine the photo. Pick a filter or Lightroom preset and stick with it. In my opinion, it’s best not to over-edit your photos.
My favorite editing software is Lightroom for my Mac, and on my phone I use FaceTune. I don’t like to filter my photos too much (even though I love the filtered look), but I love the whitening tool in FaceTune. I use it to brighten up any white spots in my photos, which is highly useful for flat lays. The key with this one is to not overdo it because it tends to look very unrealistic and harsh on the eyes if it’s too white. I also use it to brighten the photo up. I also like the Color Story App, but don’t use it quite as often. Finally, Snapseed is a great app for the selective brightness tool. Editing is a whole other beast and could probably be its own blog post, so we’ll keep it basic on this post for now.
Tip: The $10 a month for Lightroom and Photoshop is 100% worth the investment. There is a learning curve for the software, but once you learn it, you will never go back to anything else.
Stay true to you
This is probably the most important piece of blog photography tips. Don’t let photography overwhelm you because you have to style the “perfect” flatlay or take the “perfect” portrait. Getting caught up in trying too hard will result in a forced Instagram feed/blog photos. Whatever photo you post should reflect you and your brand. Tell us who you are – tell us your story. Your story is the one that matters the most.

I. DOUBLED. OVER.
Anyway, I’m a one-woman-band, too. As much as I wish Roan to be an “Instagram Husband,” poor guy needs to learn a thing or two about photography in general. I do agree with your tips here, though!
I’ve so been looking forward to reading this post! It didn’t disappoint. I am so glad that I have found your blog as I slowly creep out into this blogger world. It is intimidating to say the least. But I love your writer’s voice and feel so comforted and welcomed by your posts. Can’t wait to keep reading!
Great posts . I’ve been shooting my vids on my phone even though I have a canon 70 D with mics and some lighting I want to improve the overall quality of my images time is the resource I lack so much of all your posts have great content on this subject matter and are super helpful. Blogging and the business of it is so highly competitive you have to be good and produce good content you’ve inspired me to up my game . Grateful – April