How to do Gel Nails at Home (Plus an EASY Way to Remove Them!)
Get the perfect gel manicure by yourself! I’m showing you how to do gel nails at home with an LED light, plus an easy way to remove them!
I have been on quite a nail journey this year. I’ve really wanted to master a long wearing manicure, so I set out to find the best way to do it. I started with at home dip powders and went to gel.
I have a love/hate relationship with dip powder. It definitely weakens my nails, but it truly is the most bulletproof and long lasting manicure I’ve had. I started treating myself to dip nails every now and then this year and thought it would be simple enough for me to master it at home, so I purchased a kit. I even purchased a nail drill to ensure a super smooth surface!
Dip powders were a fail for me. I could never, ever get the cuticle line to look good. It always took me over an hour and a half to do my nails, which is insanity to me. Spending such a long time on a manicure was not worth it to me. Yeah, the manicure was super durable and lasted a long time, but it never looked as good as when I got it done in the salon. I also didn’t like that it took a while to soak them off in acetone.
I then decided to give at home gel manicures a try. This ended up being the best at home manicure option for me – I could always get them to look salon quality, it takes me less than 30 minutes to do, and it lasts me a full 2 weeks. I also found a product that helps me remove the gel polish easily without soaking and without damage!
I am saving a lot of money by doing it myself! Below I’ll share exactly what products I bought to get me started, but first, here’s a at home gel manicure tutorial video I made to share with you!
How to do Gel Nails at Home with LED Light – Video Tutorial
At Home Gel Manicure Supplies
Here’s everything you’ll need to get started with your gel manicures at home. The best part is that everything can be bought on Amazon (with the exception of brand name gel polish)! I did a lot of research on what the best items were (Taylor’s post on gel nails was a great resource for me) and have been very happy with what I purchased. Here’s what you’ll need to get started.
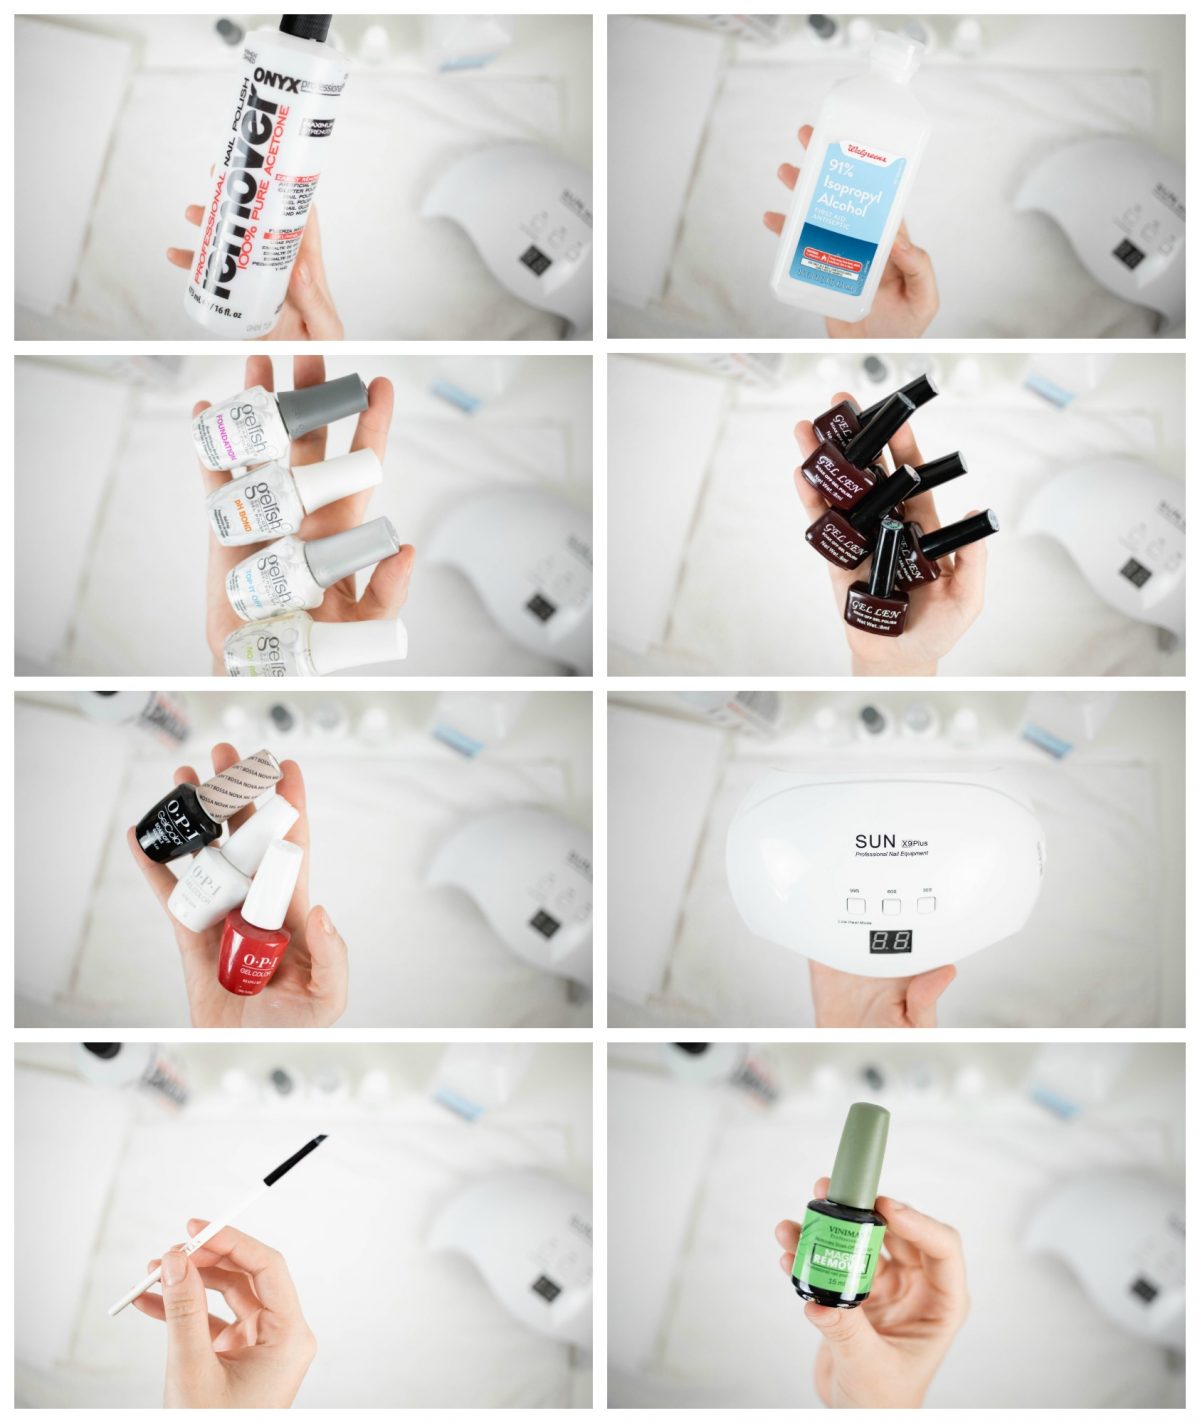
- 100% Acetone
- Rubbing Alcohol
- Gel Manicure Kit – this includes the bonder (something that will dry and prep the nail), base coat, top coat, and cuticle oil.
- Gel Color Polish – Note: this kit does come with a base and top coat, too! I just prefer the Gelish brand. But if you’re looking to save money, only order this kit! There are so many options on Amazon and most of them come in a kit. I’ve heard the most positive things about the Gellen brand so that’s what I went with and have been happy! So many color combos! I have the dusty mauve kit.
- Optional – OPI Gel Color Polish – If you love OPI colors, their gel polish can be purchased on eBay! I’ve had really good luck with this. They’re more expensive than buying off Amazon, but you can get gel polishes you know and love. I’ve purchased from this listing, this listing, and this listing. I currently own Alpine Snow, Big Apple Red, Russian Navy, Don’t Bossa Nova Me Around, Bubble Bath, and Lincoln Park After Dark.
- LED Lamp – I went with this over the UV lamp because it’s less damaging to the skin on your hands and it also dries the gel polish so much faster. It only takes me 30 seconds to cure each coat.
- Small angled eyeliner brush – to clean up cuticles before curing. The one I’m using is not on Amazon but I linked a cheap alternative. You do not need anything fancy.
- Gel polish Magic Remover – will talk more about this later but it’s been so nice to have this product on hand! Scroll down to the bottom of the post to hear my thoughts on this stuff.
Gel Nails at Home Steps
Here is everything you need to do to get the perfect gel manicure at home! Make sure to watch the video above for everything in action!
1. Start with Prepped Nails + Prep Your Space

Make sure your nails are cleaned, filed, dried, and free of any residue/lotion/oils. Buff and shape the nails before starting. Wipe clean with rubbing alcohol or acetone.
Prep your workspace by laying down a towel and having a paper towel on hand. Pour a small amount of acetone into the cap of the bottle or into a small dish. Set out your polishes in the order you’ll use them and get your nail lamp plugged in and ready to go.
2. Apply PH Bond (or Dehydrator)
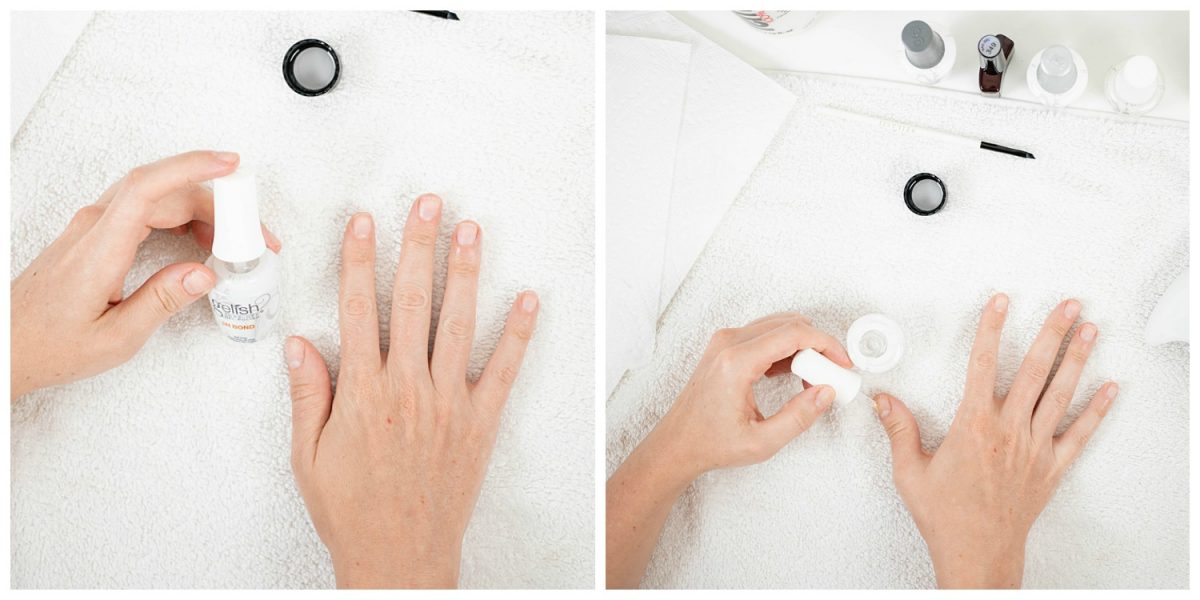
You’ll first start with the PH Bond from the Gelish kit to further dehydrate and prep the nail. Let that sit for about 30 seconds to a minute.
3. Apply Base Coat
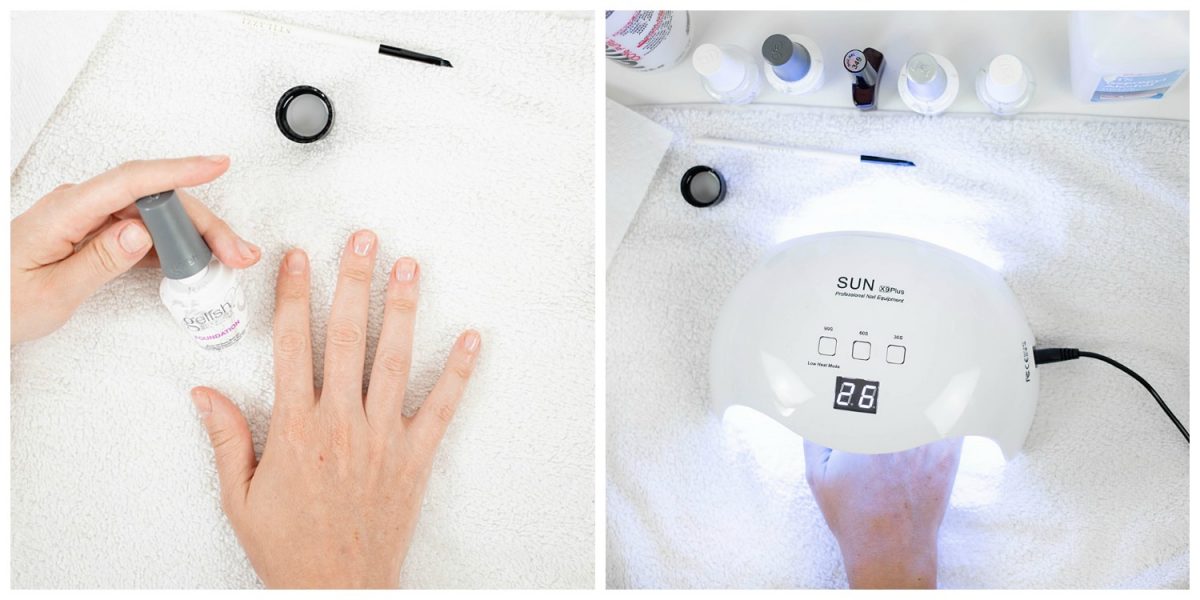
Apply the Foundation (base coat) from the Gelish kit. Cure twice. (Note: my LED lamp only takes 30 seconds to cure. UV lamps take longer. Check the type of lamp you have and follow the instructions for curing time.)
4. Apply 2-3 Coats of the Gel Color Polish
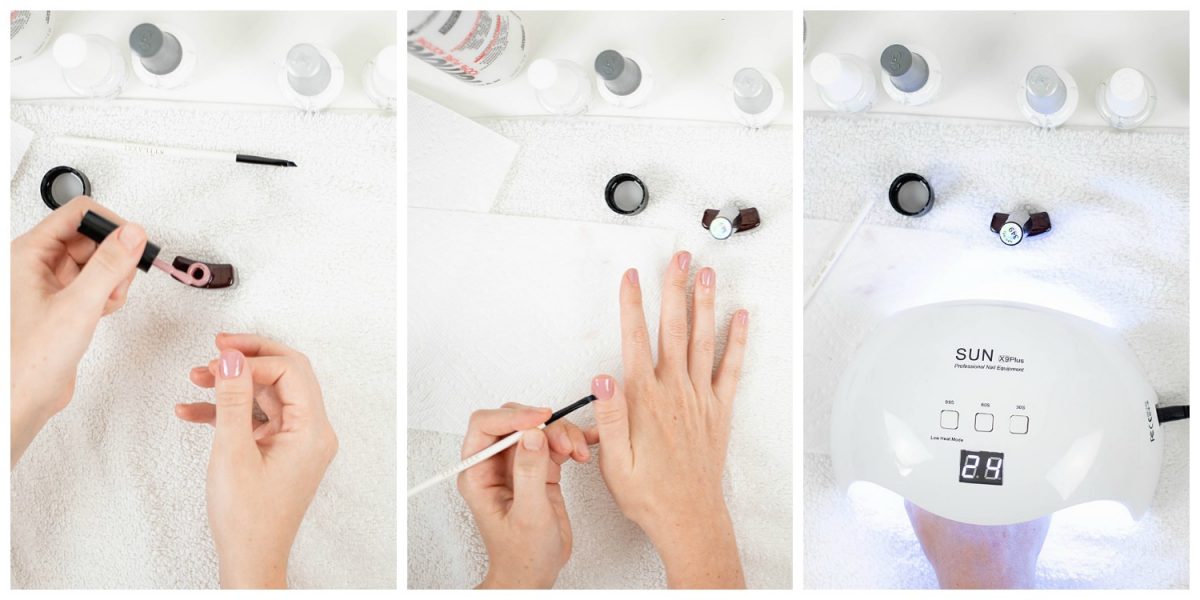
Apply 2-3 thin coats of the color gel nail polish. Before curing, take the small angled brush and dip it into the acetone you have set aside. Wipe onto the paper towel and clean up the edges of your nails and around the cuticle line. Not only does this help the manicure look absolutely perfect, it prevents the polish from lifting as it grows out. If you have any polish build up on the edges, it will lift and it’s annoying! Cure each coat of color polish.
5. Apply Top Coat
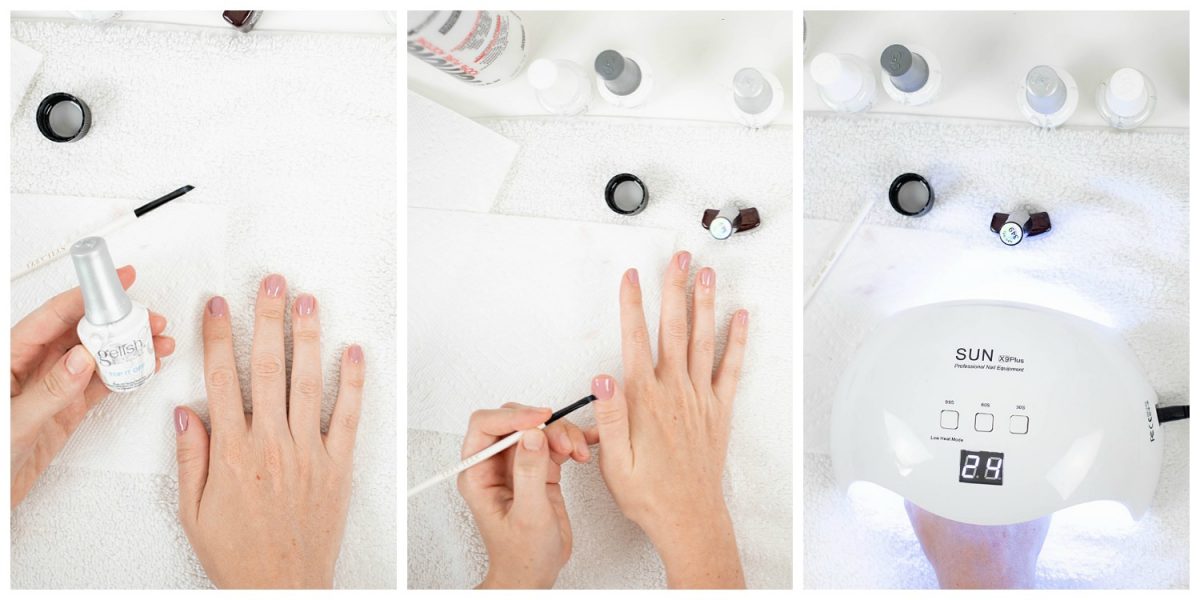
Apply a thin layer of the Top it Off top coat from the Gelish nail kit. Clean up the cuticles and edges with your small brush dipped in acetone. You definitely want to clean up the edges even on the top coat because that can lift, too. Cure twice.
6. Wipe off Sticky Residue & Apply Cuticle Oil
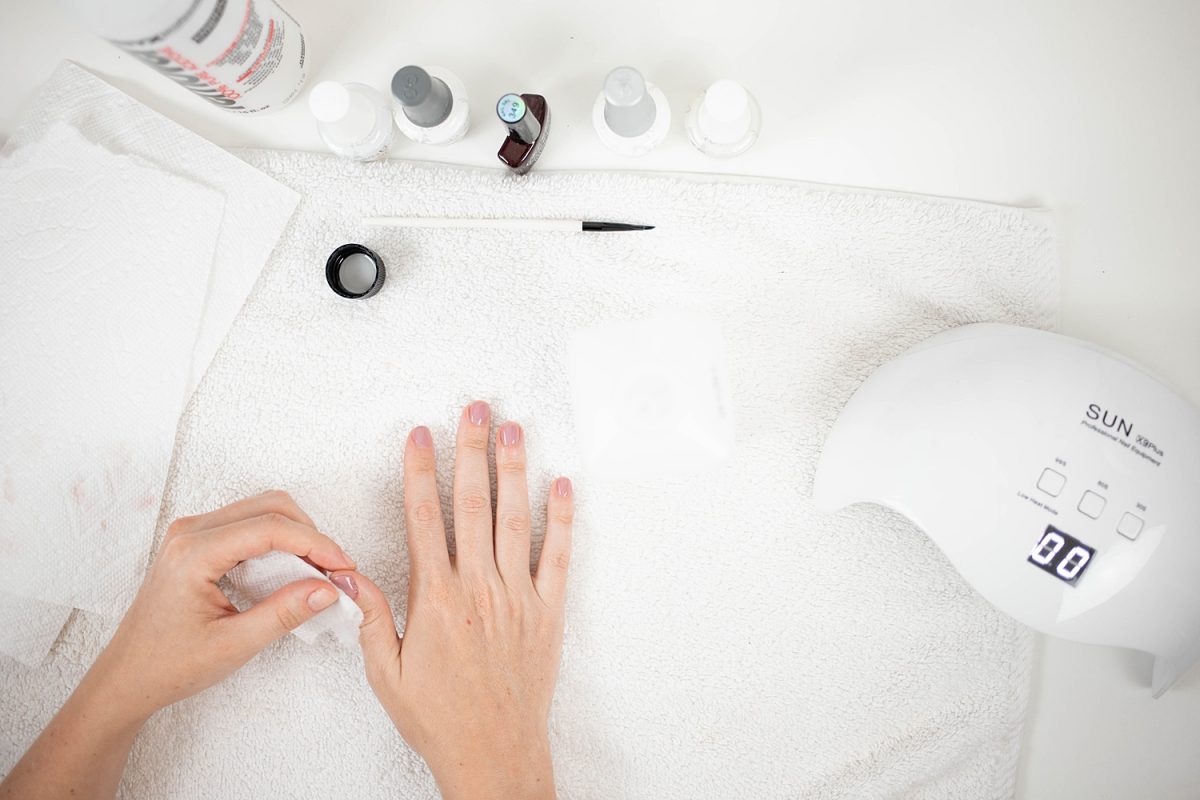
Your nails will feel sticky to the touch when all of these steps are complete, but a simple wipe with your rubbing alcohol and paper towel (I prefer that over cotton balls to avoid the fibers) will remove that residue. Your manicure is finished! Apply a little cuticle oil to rehydrate and you’re good to go. No waiting for anything to dry.
How to Remove Gel Nail Polish Easily without Acetone
I love a long wearing manicure, but I don’t love the whole soak off process. I feel like gel nails take even longer than dip to soak off my nails, and I would really like to avoid soaking my nails in acetone for 20 minutes. I tried the little clips you clip onto your fingers, and I also tried the whole wrapping them in foil thing – and I just don’t love those processes. It takes forever, and you can’t use your hands.
I saw this Facebook ad on my timeline over and over again with this “magic remover” basically bubbling up the gel polish and scraping off in no time flat. I ordered it straight off that ad and awaited the magic.
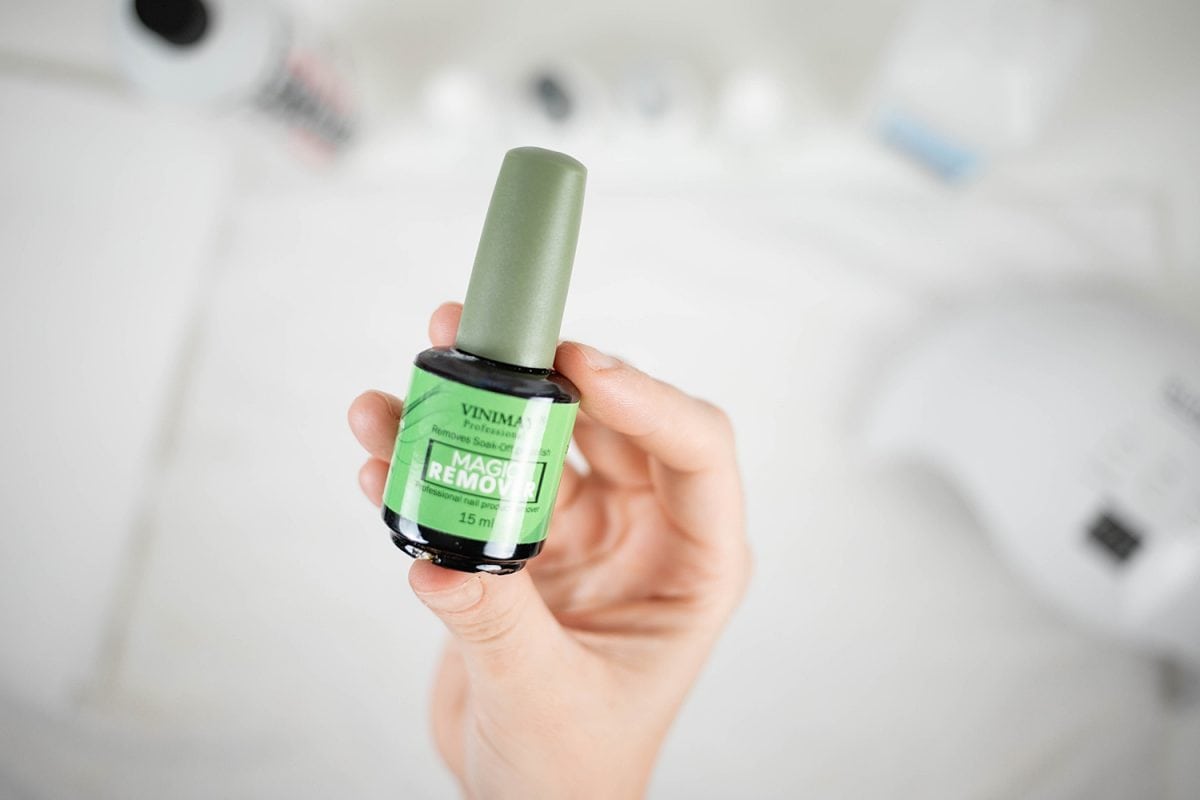
Come to find out, this stuff is on Amazon and priced significantly less. Why did I spend over $20 on two bottles when you can get 3 for $11? I don’t know. Anyway…
When it arrived I tried the Magic Remover on a dip manicure I had on (I was going to the salon over the summer because #verypregnant and #zeropatience). It didn’t really do much. It helped getting the soak off process started but I gave up after 45 minutes of it sitting on my nails and switched to acetone to soak off. So, word of wise – this stuff doesn’t work well with dip powder.
I then tried it on a gel manicure and I really like it! But, there are a few things you have to be aware of. It does not magically bubble up and fall off your nails, nor does it only take 2 minutes. The ads are really confusing because that does not happen at all. I’m pretty sure that ad used regular nail polish and sped the video footage up by 100x. Haha.
To get this stuff to work properly, I buff off the shiny top coat with a buffer block or nail file. I make sure to buff as much as I can before applying the remover. I then apply a good amount to each nail and let it sit for about 10-15 minutes. Sometimes I’ll apply a second layer. I find this method easier than soaking because my hands are not getting dried out by harsh acetone and I have more freedom to do things around the house when this stuff is on my nails. It easily scrapes off!
So, while it does not magically remove your gel polish in 2 minutes, it is the simplest and easiest way I’ve found. I highly recommend buying some of it but please have those realistic expectations going in.
And there we have it. You’re all set for your at-home gel manicure! I’ve really enjoyed learning this process at home and am glad I’ve saved a lot of money!
People who can paint their dominant hand with their non-dominant one are in a league of their own…
Haha!! Practice makes perfect!
This is such an easy and detailed tutorial….enjoyed the video… love your lovely nail color…. thanks for showing in detail…❤️
what kind of LED light do you use and what is the watt? Great tutorial! Just what I needed!
So helpful!!
I also love the OPI polishes and searched everywhere for their gel, TJMaxx/Marshall’s/Ross will occasionally have a couple of colors (they have a white lid instead of black) for $4!! Significant cheaper!!
This is a very detailed guide! Thank you very much for sharing this useful information and tricks for creating complex nail designs.
I am so tired of going to the salon and paying a high cost for my nails because I keep my nails short length. I work with babies and like short, neat, clean, pretty colored nails but don’t like paying the high price. I’ve been wanting to try to do my own but until your video never thought I could do and remove gel nails on my own. Thank you so much for such an awesome video, great details and where to buy. I will happily be looking for more of your videos!! Blessings! Lynda
Your video was very helpful. I, also, have decided to give up the nail salon. My natural nails WERE very healthy and strong. I had a dip manicure and the nail tech drilled off much of the surface of my real nails. Now my nails are so thin, it almost feels as if I have no fingernails. I had my nails cut short and got a manicure and gel polish and vowed to learn how to remove the gel polish myself and use the OPI Gel Like nail polish with the gold top and do my own nails from now on. Your instructions on how to remove gel polish are just what I need! Thank you for sharing !!
I thought this was a tutorial on how to do gel nails. Ya know the tips with the gel over them? I don’t suppose you would have anything like that as apposed to the gel polish manicure?
It is….? A lot of people get gel nails without tips. Doesn’t say anywhere in this post on “how to do gel nails with tips”….?
I’ve been hoping to stumble across a beauty blogger, that has mastered the technique of gel nails, without ruining their nails! All I’ve heard from the women in my family, was everything negative. Which has served as the biggest deterrent against doing my own manicures. I also have very limited patience, (sadly) in stressful, high energy atmospheres, typically found at salons. Gel nails always seemed like the best option, for me. The flip side, of course, was finding unsolicited and unbiased reviews, that appealed to how I relate to the beauty industry and vice versa. The most encouraging aspect is, you aren’t limiting your choices to just one or two brands; finding products that work for you, involves trial and error and that takes time – especially nowadays. Consumer reviews drive many of my purchases, certainly a challenge for the indecisive ♀️ ♀️<—- this is me, trying to figure out what eye look, I’m going for, for that day. Lipstick is even worse! Your blog content is very much in line with my personal aesthetic and this post is especially helpful! Serendipity is marvelous!
Cassandra
Thank you so much. My daughter bought a gel nail kit for me for an early Christmas present, and let’s just say the 1st time I used it was a disaster. Most of my nails began to peel off in less than a week. I tried your tips yesterday, and it was so much easier. I have a question for you, though. I read somewhere that washing your hands in hot water would cause the polish to peel faster. Do you think that is true?