Makeup for Photos Maybelline Tutorial
Disclosure: This shop has been compensated by Collective Bias and its advertiser. All opinions are mine alone.
#FalsiesPushUpDrama #CollectiveBias

It’s been a while since I’ve done an actual makeup tutorial around these parts, and this one is awesome. It’s all about makeup that is flattering in photos, and I’m using all budget-friendly products! Even better…. it’s only one brand – Maybelline! Maybelline is seriously in my top three favorite budget makeup brands, and probably the absolute best for mascara!
I recently picked up the brand new Maybelline Falsies Push Up Drama Mascara and I can’t even tell you how excited I was to try it. I love all of the other falsies mascaras, and I have been hearing great things about this one since its launch.
The mascara inspired this makeup tutorial. Since lashes tend to disappear in photos, I wanted to make them the star of the show. I recreated this makeup look from last year’s family photos, especially since family photo season is coming up. Are you thinking about family photos? I know I am. Hopefully I have a couple of tips and something you can take away when you’re doing your makeup for photos! And this tutorial is like a 3 in one – photo ready, budget friendly, and 1 brand tutorial! You can thank me later.
Maybelline Products Used:
- Baby Skin Primer
- Super Stay Better Skin Foundation
- Instant Age Rewind Dark Circle Eraser Treatment Makeup in ‘Neutralizer’
- Super Stay Better Skin Concealer
- Fit Me Concealer
- Brow Drama Sculpting Brow Mascara
- Eye Studio Eyeshadow Quad in ‘Give Me Gold’
- Eye Studio Gel Eyeliner
- Falsies Push Up Drama Mascara
- Color Sensational Lipstick in ‘Warm Me Up’

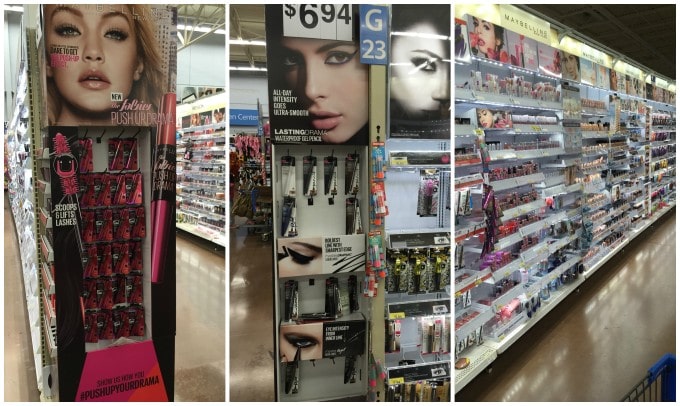
One last thing, I found my new Falsies Push Up Drama Mascara (and other Maybelline products) at my local Walmart. I’m seriously loving it. It’s like a push up bra for your lashes! Go grab you some!
Cheers to always amazing photo ready makeup!


Amazing! Now I want to go buy all those products!
Thank you!!!! Well you have the foundation, so that’s a start! 🙂
Your makeup looks gorgeous, you are so good at makeup!
Our Life is Beautiful
Thank you so much!! What a sweet compliment!!!!
Love this tutorial girl! I so wish that foundation worked for me. My skin tone is right in between the lightest color and ivory. Neither worked. But I will definitely check out that mascara. I love Maybelline mascara. The best!
Aw darn! What a pain! If I really love something and I want the right color, I will usually buy two shades and mix them. But that’s kind of a lot of work and money. Lol. And yes, that mascara is awesome!!
Maybelline has stepped up their game lately!
Seriously!!! I think I own every concealer (and used almost all of them in this tutorial….. lolz)
Gotta love a makeup tutorial that doesn’t leave me completely penniless! PS. Who designed your header? I think it’s gorgeous!
Thank you!! I’m all about that drugstore life!! And thanks for your sweet comment about my header! I actually had it done on fiverr! You can search “hand drawn calligraphy” or “hand drawn logo” and find a lot of awesome options for super cheap!
I love this! Going to share it with my photographer friends too! #client
Your eyes look amazing! My eyelashes totally disappear in photos too! Thanks for sharing!
Annie- All Things Big and Small
Hi Meg! What I’d like to know is the shades of your foundation. Secondly, the purpose of the Circle Erase Treatment + 2 different concealers. I’m a minimalist when it comes to makeup. Mostly because I don’t know what I’m doing. So, could you get away with using the Circle Erase Treatment AS a concealer?
Hey girl! I usually choose the second-third lightest shade when I am at the drugstore. I think I picked this one up in Classic Ivory. So I used the circle eraser treatment for the undereye area to minimize darkness. It has a pinkish tone to it, so I wouldn’t really recommend using it as a concealer on other spots of the face. If you want to stick with one concealer, I would definitely recommend the Maybelline Fit Me!